
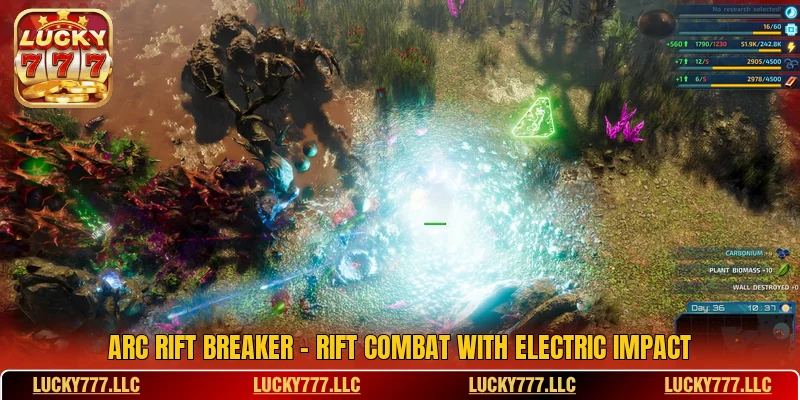
Arc Rift Breaker builds tension through charged weapons, hostile portals plus fast enemy movement. Each stage rewards clean timing more than noisy fire. This article is written for action arcade players at Lucky777 to help them understand rift combat clearly, aiming to support sharper mission choices.
Action appeal inside Arc Rift Breaker
Fast movement gives the game a direct sense of pressure across each combat screen. Enemies arrive from cracked portals in groups of 6 to 12, so aim control matters before damage numbers rise. The appeal comes from reading danger early, then striking when the rift line opens cleanly for a precise counter.
The screen design keeps Arc Rift Breaker readable even when sparks cover wide lanes. Blue warning arcs appear about 1.5 seconds before a charge lane breaks, which gives skilled timing a visible cue. Strong rounds feel tense because survival depends on position, weapon delay plus target order during each crowded rift clash with care.

Lightning weapon system in Arc Rift Breaker
Weapon choice shapes the speed of every rift clash through timing, range plus impact weight. Good combat rhythm starts when each strike feels tied to pressure on screen.
Light blade in Arc Rift Breaker cuts hostile survival space
The light blade works best at close range because its arc reaches about 4.8 meters. A clean slash can hit 3 small enemies when their bodies cross the same lane. Its value grows during tight rift pressure, where a short swing prevents the front line from closing too fast near portals.
Charged blade timing adds another layer because the power state lasts only 2.2 seconds. Missing that window reduces damage by nearly 35 percent, so careless swinging weakens the whole attack cycle. Players who wait for a full flash can cut shield edges before smaller targets surround the center lane with less wasted motion.
The blade also supports movement because each dash slash shifts the fighter about 2 meters forward. That small advance can break a trap circle when the warning ring begins to glow. A safer route appears when the slash lands after the third pulse, then the retreat path stays open near the edge.
Electromagnetic hammer breaks monster core armor
Heavy armor makes Arc Rift Breaker slower for a moment, yet the hammer answers that delay with direct force. A charged hit can remove 42 percent of a plated core layer when the strike lands inside the bright center mark. The swing radius stays narrow, so timing must stay patient under boss pressure.
The hammer carries a 3.6 second recovery window after a full impact. That pause can become dangerous when 5 or more small beasts approach from side lanes. Strong use comes from waiting until the armor plate rotates forward, then landing one heavy blow before the swarm collapses inward around the core during late waves.
View more: Turbo Arena Quest – Fierce Arena Speed Battle Mode
Shock buildup also matters because three hammer strikes can trigger a short stun. The stun lasts about 1.4 seconds, enough time for a second weapon to finish exposed tissue. This makes the hammer useful against shielded bosses, but poor placement can waste the best opening of the round near fragile gates.
Assault pulse gun clears large beast packs
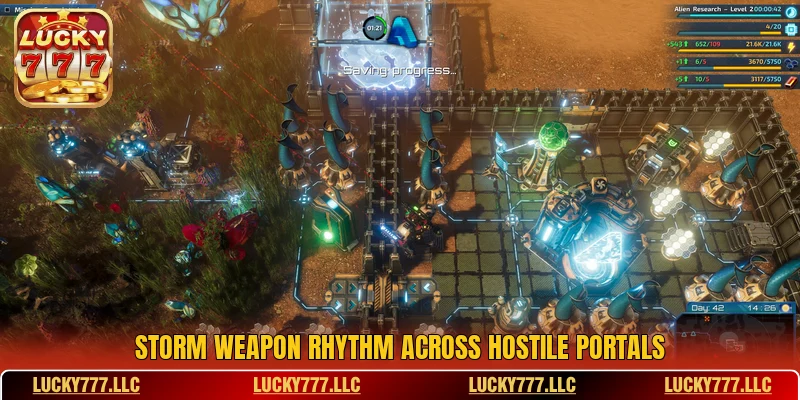
Wide enemy packs make Arc Rift Breaker feel faster because the pulse gun controls space through steady bursts. Each burst fires 9 rounds across a shallow cone, with weaker damage near the outer edge. Its best use appears when several light beasts move together before splitting into separate lanes near the gate.
Heat control keeps the pulse gun from turning into blind fire. After 7 seconds of constant shooting, spread accuracy can fall by about 28 percent. Short bursts stay cleaner because the sight line returns quickly, while scattered monsters remain close enough for follow-up shots during the next pressure turn with steadier aim.
The pulse gun also protects weak corners during wave changes. A 120 degree sweep can stop small beasts from crossing behind the fighter. When a larger creature enters, the gun should slow the pack first then leave the final damage to heavier weapons with stronger core pressure near the center during late fights.
Energy cannon destroys the rift gate
Late rounds in Arc Rift Breaker often depend on the energy cannon because rift gates resist light damage. A full charge takes 5 seconds, then releases a beam that can drain 60 percent of gate stability. The weapon feels strongest when the portal shield drops after repeated smaller hits from safer angles.
The cannon creates a straight damage lane, so poor angle wastes power fast. A gate opening wider than 3 meters gives the cleanest hit zone during the short exposure phase. Firing too early may hit the outer ring, which cuts the damage value before the beam reaches the core during boss pressure rounds.
Energy storage should stay protected until the portal begins its collapse pattern. The collapse pattern usually shows 4 violet flashes before the gate pulls nearby monsters inward. Saving the cannon for that cue can remove the gate faster, while weaker weapons hold the nearest threats outside the beam path safely during late portal fights.
Hidden mission chain in Arc Rift Breaker
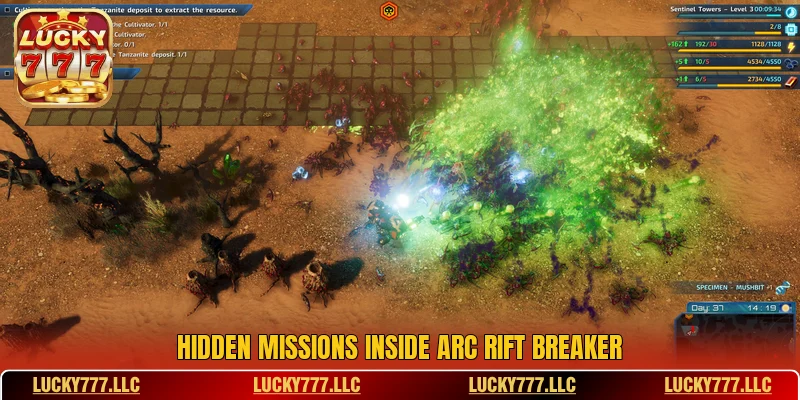
Hidden tasks give the campaign extra structure without pulling attention away from combat. Clues appear through odd enemy paths, broken symbols plus timed portal reactions across several rounds. A careful route can reveal side goals that reward patience, especially when the main wave seems too direct for skilled route reading across secret routes.
- Broken signal trail: Arc Rift Breaker reveals a locked path behind the arena wall after three blue sparks follow the second portal crash.
- Silent core marker: Strike the inactive crystal only after 20 seconds pass, then a hidden guard wave enters from the upper lane.
- Rift echo route: Clear two side beasts before touching the main gate, so the echo marker stays active long enough.
- Overcharge fragment: Finish a stunned armored beast with the light blade, then collect the fragment before the next wave begins.
View more Category: Arcade
Conclusion
Arc Rift Breaker works best when rift pressure, weapon timing plus mission clues stay easy to read. Lucky777 appears only as a light reference here, while the focus stays on combat rhythm. A steady account setup can suit anyone ready to follow this action style.
